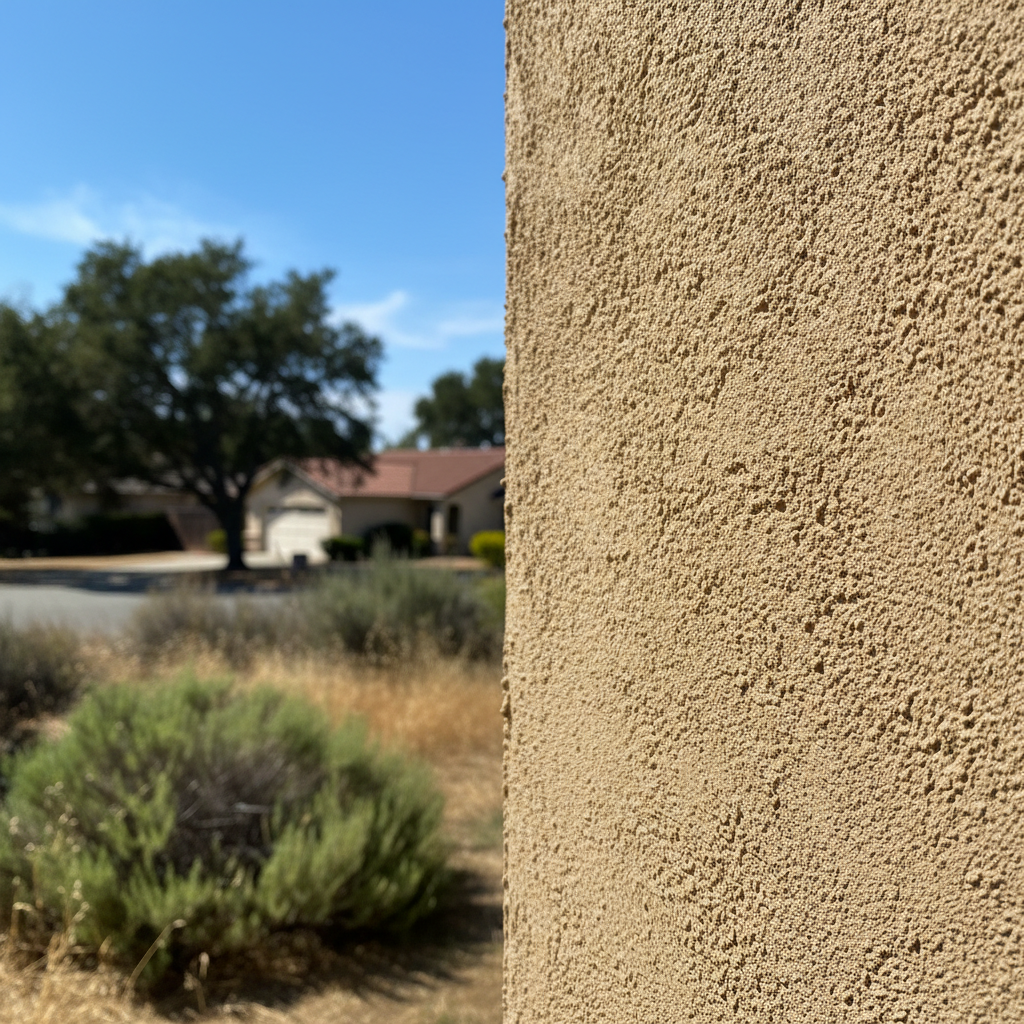
Before You Start: Planning Your Stucco Project
So, you're looking at your stucco and thinking it needs some attention. That's a common thought for homeowners around here, especially with our coastal weather and the age of many homes in neighborhoods like Portola Highlands. Before you even think about grabbing a trowel, you've got to figure out what kind of work you're actually dealing with.
Is it a small crack? A patch of loose stucco? Or are we talking about a whole wall that's looking tired and worn? These are very different jobs, and your approach—even whether you can DIY it—will change dramatically based on that first look.
A quick visual inspection is your first step. Just walk around your house. Look for hairline cracks, larger spiderweb cracks, bulging sections, or spots where the stucco sounds hollow when you tap it. Pay close attention to areas around windows, doors, and the foundation. These are common spots for water intrusion and stucco failure, unfortunately.
If you're seeing just a few small, non-structural hairline cracks (think thinner than a credit card), you might be able to handle those yourself. Anything bigger, or if you suspect water damage lurking behind the stucco, and you're already leaning towards needing a professional. Trust me, ignoring water intrusion can turn a small repair into a major headache and expense down the line.
Another thing to consider is the age of your stucco. Older homes, especially those built before the 1980s, often have different stucco systems than newer ones. This can affect repair techniques and materials. Don't just assume all stucco is the same; it's not.
DIY Stucco Repairs: What You Can Tackle
Alright, let's say you've got those small hairline cracks. You can absolutely fix these yourself. It's not rocket science, and with the right materials, you can make them disappear and protect your home from moisture.
- Hairline Crack Repair: You'll need a good quality elastomeric stucco patch or sealant. Clean out the crack thoroughly – a wire brush works well. Make sure it's dry. Then, apply the patch material according to the manufacturer's instructions. Smooth it out with a trowel or putty knife. The key here is to fill the crack completely and make sure it blends with the existing texture as much as possible.
- Small Patching (non-structural): If a small section of stucco has chipped off, maybe an inch or two wide, you can try patching it. You'll need stucco patch mix, a trowel, and a spray bottle for misting. Chip away any loose material, clean the area, and dampen it. Mix your patch according to directions, apply it in thin layers, building it up to match the existing surface. Texturing is the tricky part here. You might need to experiment a bit on a scrap piece of wood to get the look just right.
These are the kinds of jobs that are satisfying to do yourself and can save you a few bucks. But remember, the goal isn't just to make it look good; it's to seal it up and prevent further damage. If you're not confident you can achieve a good seal, it's better to call someone who can.
When to Call a Pro: Don't Skimp on Expertise
This is where I get serious. There's a point where DIY stops being cost-effective or even safe. Here's when you absolutely need to bring in a professional, like us at Coastal Stucco Co:
- Large Cracks or Structural Damage: If you see cracks wider than a quarter-inch, or if they're running diagonally from window corners, you've likely got more than a surface issue. These can indicate foundation movement or framing problems, and simply patching them won't solve the underlying issue.
- Bulging or Delaminated Stucco: Sections of stucco that bulge out, or sound hollow and loose when you tap them, usually mean water has gotten behind the stucco and damaged the lath or sheathing. This requires removing the damaged sections, inspecting the substrate, making repairs, and then re-applying new stucco. This isn't a small job; it requires specialized tools and knowledge of proper drainage planes and flashing.
- Extensive Water Damage: Any signs of water intrusion inside your home (stains, mold, dampness) that you suspect is related to your stucco means you need an expert. Water can cause rot, mold, and structural damage that's far more expensive to fix than the stucco itself.
- Full Resurfacing or Re-stuccoing: If your entire home needs a facelift, or if the existing stucco is just too far gone, that's a professional job. It involves scaffolding, proper preparation of the substrate, multiple layers of material, and skilled application to ensure a durable, attractive finish.
- Matching Existing Textures: Trying to perfectly match an existing stucco texture, especially on older homes with unique finishes, is incredibly difficult for an amateur. Pros have the experience and techniques to blend new work seamlessly.
I've seen too many homeowners try to tackle big stucco jobs themselves, only to end up with a mess that costs more to fix properly than if they'd just called a pro in the first place. Stucco isn't just decorative; it's a critical part of your home's weather barrier. Getting it wrong can lead to serious problems.
During the Project: What to Expect (and Look For)
If you've hired a pro, you'll want to know what's happening. A good contractor will keep you informed, but here are a few things to keep an eye on:
- Preparation is Key: Before any new stucco goes on, the surface needs proper preparation. This might mean cleaning, repairing the substrate, or applying a bonding agent. Don't let anyone skip this step.
- Proper Layering: Stucco isn't just one coat. It typically involves a scratch coat, a brown coat, and a finish coat. Each layer needs time to cure. Rushing this process can lead to cracking and failure.
- Flashing and Weep Screeds: These are crucial for directing water away from your home. Make sure they're installed correctly around windows, doors, and at the base of your walls. This is especially important in a place like San Bruno where we get that driving rain coming off the bay.
- Cleanliness: A good crew will keep the work area tidy and protect your landscaping, windows, and other surfaces from overspray or drips.
If you're doing a DIY patch, make sure you're following the product instructions to the letter. Don't try to speed up drying times or skip steps. Patience is a virtue in stucco work.
After the Stucco Project: Maintenance and Longevity
Once the work is done, whether it's a small patch you did or a full re-stucco by Coastal Stucco Co, you'll want to protect your investment. Stucco is durable, but it's not maintenance-free.
- Regular Inspection: Every year, walk around your house and do that same visual inspection you did at the beginning. Look for new cracks, signs of discoloration, or anything that looks off. Catching small issues early can prevent them from becoming big ones.
- Cleaning: Stucco can get dirty. A gentle wash with a garden hose and a soft brush can remove dirt and grime. For tougher stains, a mild detergent and water solution can work. Avoid high-pressure washers, as they can damage the stucco surface and force water into places it shouldn't go.
- Landscaping: Keep plants and shrubs trimmed back from your stucco walls. Vegetation can hold moisture against the surface, leading to algae growth and potential damage. It also provides pathways for insects.
- Drainage: Make sure your gutters and downspouts are clean and directing water away from your foundation. Poor drainage is a common culprit for stucco problems.
Taking care of your stucco means it'll protect your home for decades. Don't wait until you see major issues to act. A little proactive maintenance goes a long way.